Create Your Account
JobHawk uses your Google account for secure, one-click sign-in. There are no passwords to remember or manage.
Sign Up
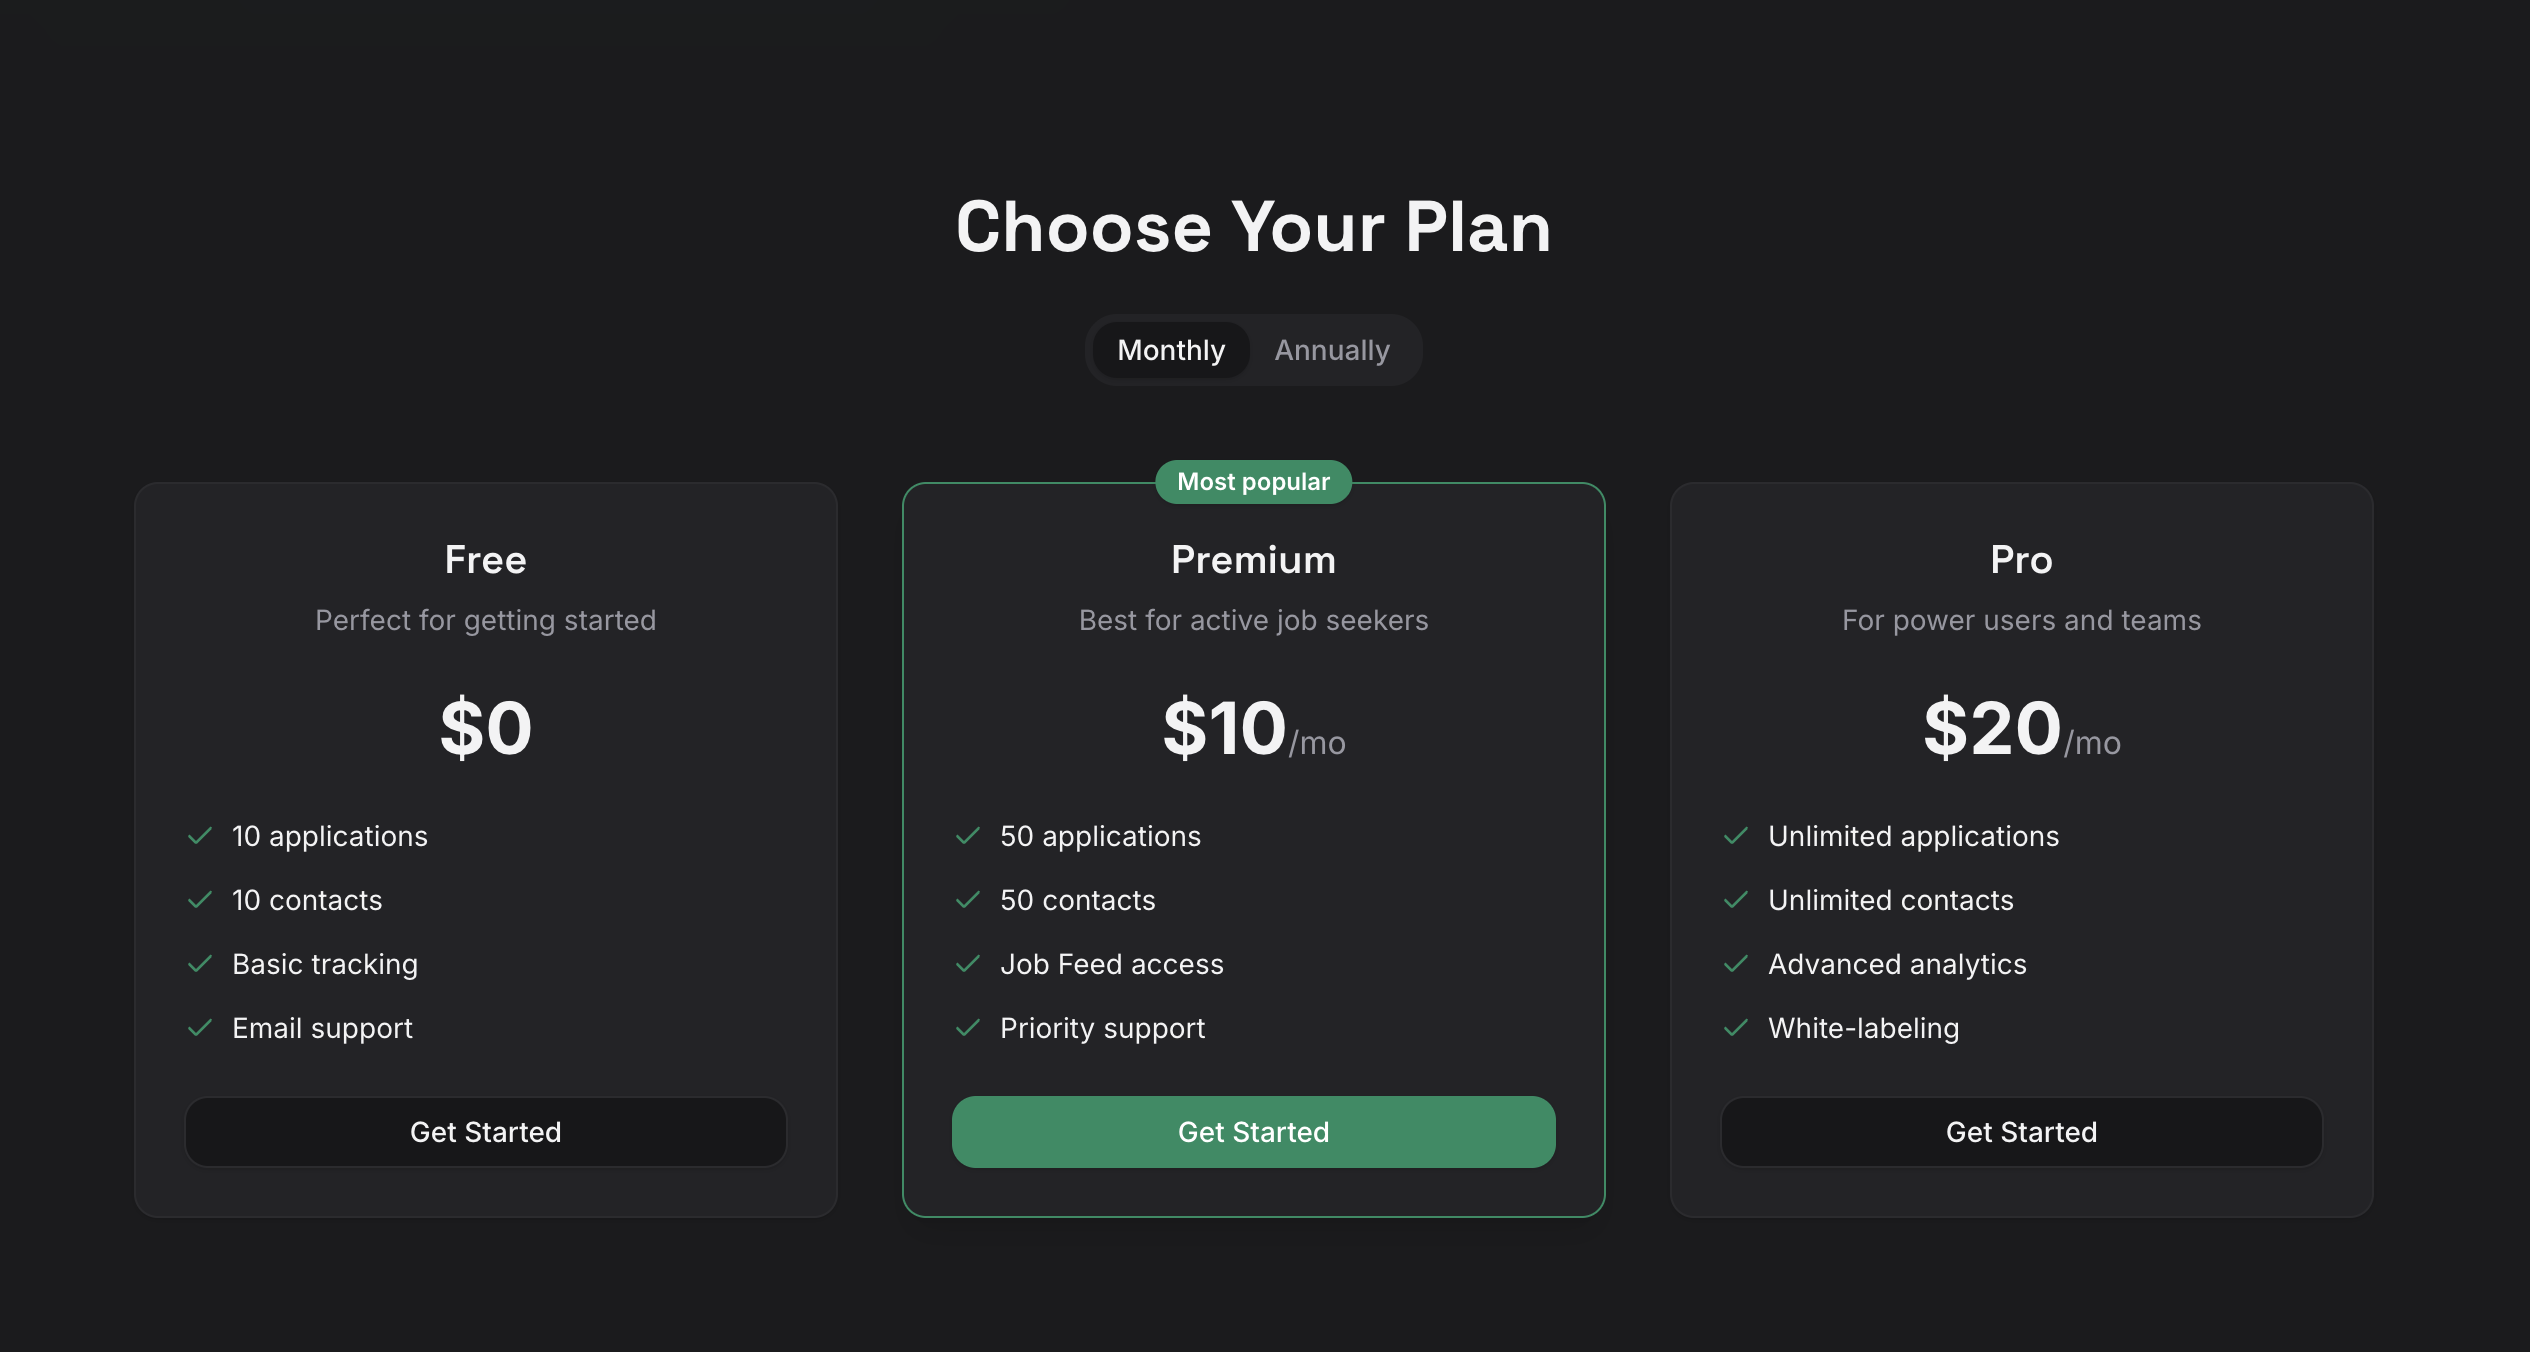
- Go to jobhawk.app and choose a subscription tier from the pricing table.
- Click Get Started on your chosen tier.
- Sign in with your Google account when prompted.
- Review the permissions and click Allow.
- JobHawk creates your account automatically and drops you into the dashboard.
Note
JobHawk only requests your name and email address. We never access your contacts, calendar, or other Google data.
Your Free Trial
Every new account starts with a 7-day Pro trial. You get full access to all features, including AI Interview Prep, advanced analytics, and the Job Feed.
When the trial ends, your account moves to the Free tier. You can upgrade at any time from Settings > Subscription. See Subscriptions for a full comparison of tiers.
Set Up Your Job Preferences
Your job preferences control which positions appear in the Job Feed. Configure them early to get relevant recommendations right away.
- Click your profile icon in the top-right corner and select Settings.
- Under Job Preferences, set your target roles, preferred locations, and experience level.
- Click Save.
The Job Feed uses these preferences to surface relevant postings from across the web.

Set Your Employment Status
Under Settings > Current Job, set your employment status to one of:
- Employed -- currently working full-time or part-time.
- Unemployed -- currently job searching.
- Freelance -- working as a freelancer or contractor.
Your employment status influences Interview Prep question generation and offer comparisons. If you are employed or freelancing, also fill in your current company and job title.
Onboarding Checklist
After signing up, your dashboard displays an onboarding checklist that tracks your progress through four key actions:
- Set your job search preferences -- configure your target roles and locations.
- Add your first job application -- start tracking a role.
- Add a recruiter or contact -- link a person to your pipeline.
- Schedule your first interview -- create an interview for a tracked application.
The checklist updates automatically as you complete each step. Once all four are done, the checklist marks as complete and shows your progress.
Next Step
Your account is ready. Next, let's add your first application.